
First published: 1 April 2022 @ 6:00 pm
Why Paint Drips Happen
There are a few reasons why paint drips happen. Usually, it’s because the paint was applied too thickly or too thinly, or the base coat wasn’t allowed to cure properly before another coat was applied.
It can also be caused by having dirt/dust/oil on the surface. This can be easily fixed by just wiping down the surface with some rubbing alcohol or damp cloth before you apply the wet paint.
If you don’t do this, then it will just act as a “buffer” between each layer of paint and will end up causing runs and excess paint in your finish.
The rubbing alcohol will evaporate quickly and won’t leave any residue behind that could interfere with adhesion between layers of paint.
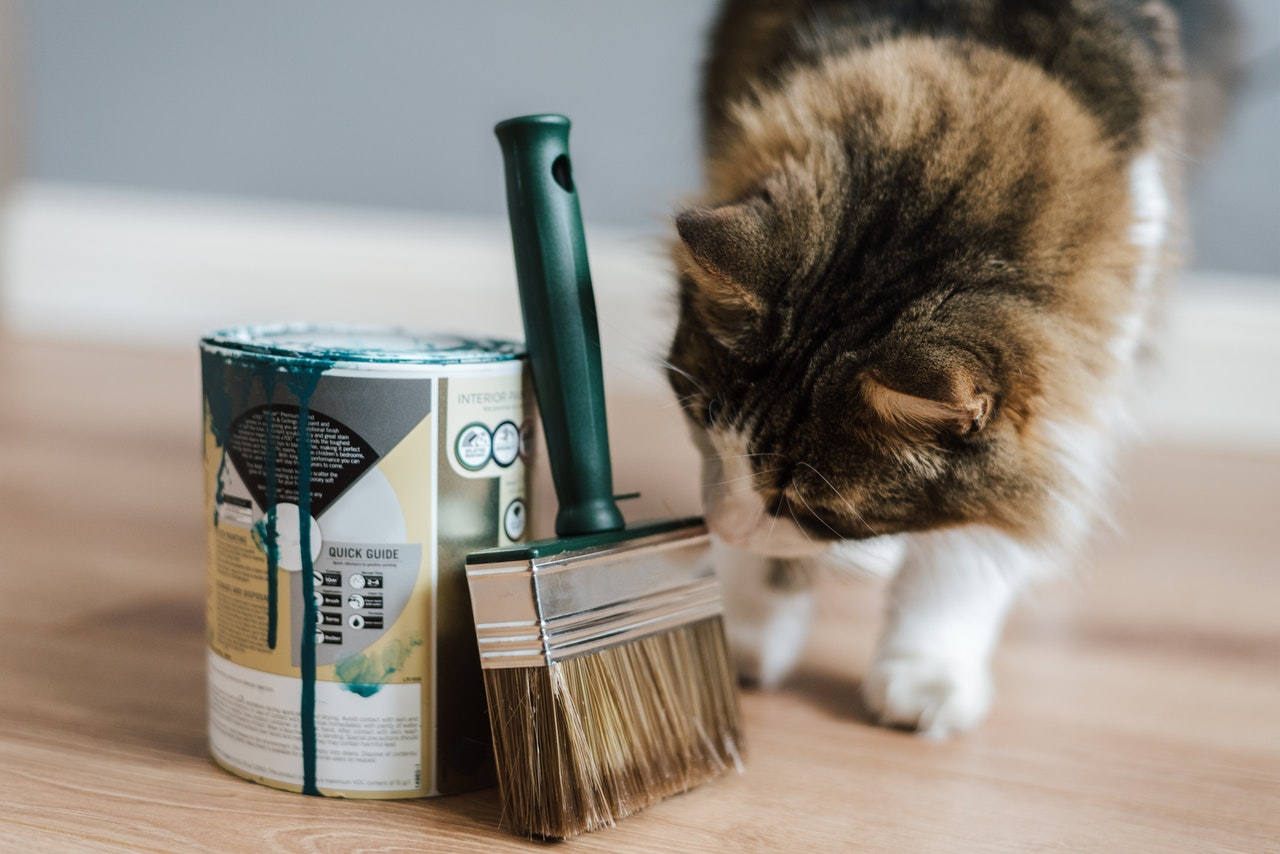
Photo by Anete Lusina from Pexels.
Tools/Materials Needed:
Step 1:
Make sure the surface is clean and dry. You don’t want any dirt or dust getting in the way of your painting job. Then lightly sand the affected area with 220 grit sandpaper or other kinds of a paint scraper. The purpose of this is to give the paint something to stick to.
If you skip this step, the paint will likely just peel off when you try to remove it later on. Be careful not to sand too much though; if you get too deep into the surface, it won’t be able to hold any paint.
Just take your time and go slowly with it. It only takes a few minutes, so there’s no need to rush through it.
Step 2:
Wipe down the area with some rubbing alcohol on a rag, damp cloth, or paper towel. This will remove any oil from your hands that might interfere with adhesion between the new paint and the old paint.
It will also help to get rid of any remaining dust that might be on the surface.
Step 3:
Spray a light coat of flat black spray paint onto the affected area. I would recommend using either a can of spray paint or an airbrush, but if you don’t have either of those, you can just use a regular spray paint can.
Just be sure to hold it far enough away from the surface so that you don’t get any drips.
You can also use brush strokes if you prefer them.
Step 4:
Wait for the paint to dry completely (about 20 minutes). If you’re using regular spray paint, it should be dry enough in about 10 minutes. Then go over it with another coat and let it dry again.
If you’re using an airbrush, then just keep spraying coats until you’re satisfied with how much coverage you have. The more coats you apply, the darker it will be and the more “paint-resistant” it will become.
I usually do about 5 coats when I’m doing this by hand, but it depends on how thick/thin your coats are and how much surface area is covered by each coat. This step is pretty self-explanatory; just wait for the paint to dry, then apply another layer of paint.
Step 5:
Once the paint is dry, take some 400 grit sandpaper and lightly sand the surface to give it a nice matte finish. Then use a clean rag or paper towel to wipe off any dust that might be leftover.
That’s it! It’s that easy. It’s just like painting a car.
You can also remove any leftover drips with a razor blade if you want to, but it’s not necessary. The paint should hold up fine on its own.
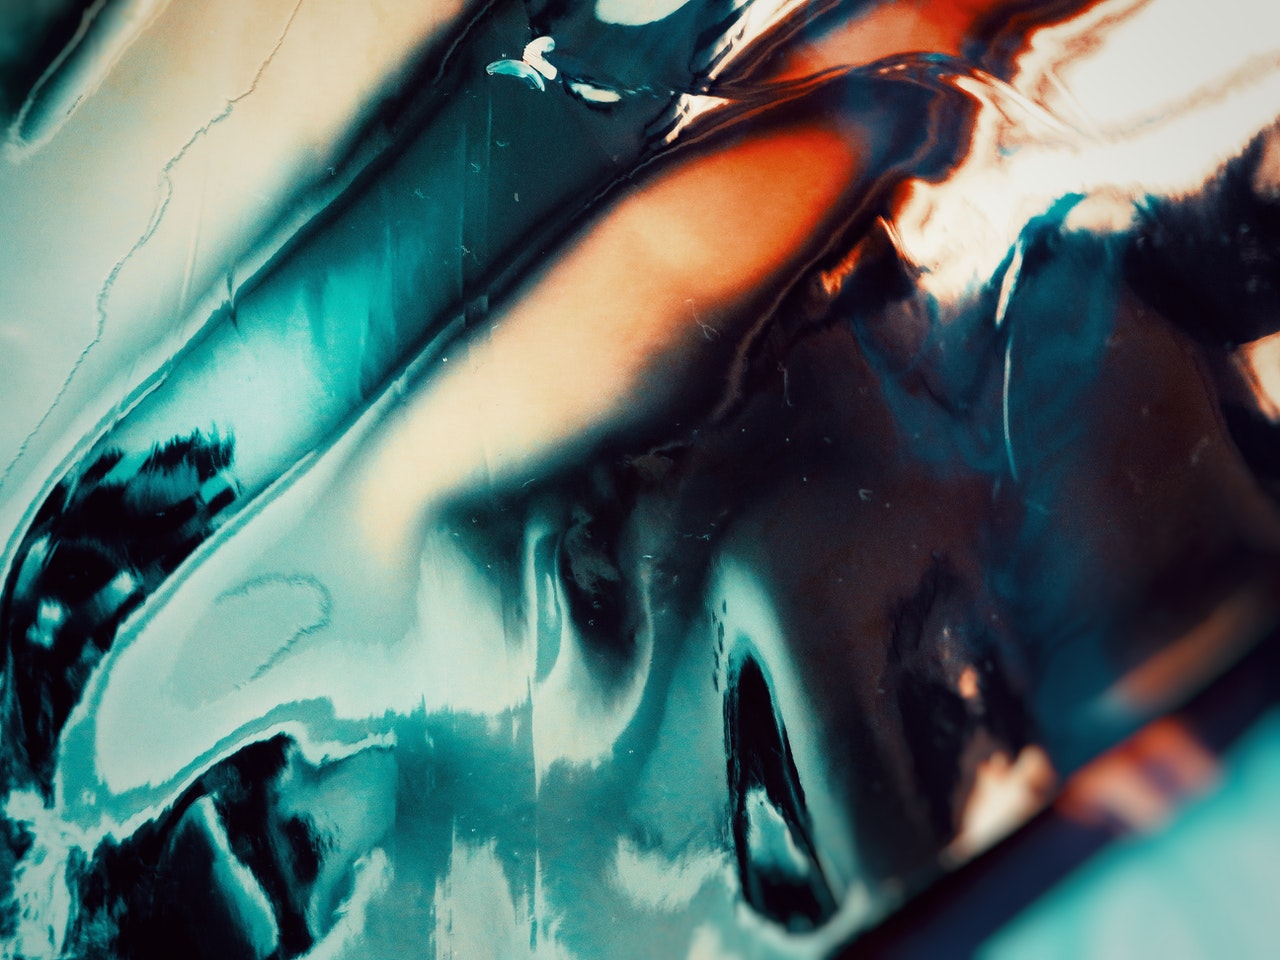
Picture by Anni Roenkae on Pexels.
How to Prevent Paint Drips:
It’s pretty easy to prevent paint drips from happening. Just follow these simple steps:
1. Always make sure the surface is clean and dry before you begin your paint job.
2. Make sure the base coat is cured (dry) before applying another coat of paint. This usually takes about 24 hours, but it can take longer depending on the conditions that it’s exposed to.
It can take up to 72 hours in humid conditions, or if you live in a cold climate and your garage is cold/drafty.
You can always speed up the curing process by baking it in an oven at around 250 degrees F for 30 minutes, but be careful not to let it get too hot, or else you’ll end up melting your plastics/paint/gaskets, etc.
3. Apply thin coats of paint instead of thick coats. If you’re using a spray gun, then make sure that you’re using a high-quality air compressor that’s capable of supplying plenty of air at 80-100 psi (pounds per square inch).
The higher the psi, the finer the mist will be when it comes out of your gun, which will result in better coverage with less paint being applied per coat.
I would recommend using an HVLP (high volume low pressure) gun for this application because they’re more efficient than regular spray guns.
4. Always let the paint dry for at least 10 minutes before applying another coat. This will allow the paint to cure properly, which will make it more resistant to being damaged by UV rays, water, and other things that could interfere with adhesion between layers of paint.
It will also help prevent runs from happening if you happen to have any dirt/dust/oil on the surface of your bike.
5. Always apply a clear coat over your paint after you’re done painting. This will give it nice glossy paint colors and will protect it from UV rays, water, dirt/dust/oil, etc.
If you don’t want to clear coat it though, then at least make sure that you put some kind of wax or sealant on it so that it doesn’t get damaged by things like water or UV rays.
Read more about home decoration and home improvement on HandyWork. Visit us now!